Long before I was a paraglider I was a backpacker. I grew up in the time of external frame packs, lived through the transition to internal frame (an Arc’teryx Bora 40 was my first), got into ultra lightweight packs, and only then found paragliding and temporarily forgot about the principles of carrying a load in the wilderness. With a paraglider, you don’t need to carry it that far. The whole point is to fly.
Still, eventually you land. Perhaps you get into hiking up the mountain first, as I did. Either way, you’re faced with carrying the load for a distance further than most pilots will. Most pilots did NOT get into flying so they could hike. Their needs are met by the current backpacks on the market, which could be accurately described as “sacks with straps”. Sure, they’re a little nicer than that, and certainly Niviuk has come out recently with packs that are built to carry a load, but as an intermediate pilot flying mostly in Southern California, I’ve got specific needs not met by the paragliding pack industry.
So, what are those needs? Here is my initial “wants” list:
- Tough, rip resistant.
- Reasonably lightweight
- Clean outside; able to slide through dense brush
- Accessible pockets for radio/phone/nav device.
- Snack/water pocket.
- Frame support, carrying 40 lbs
- Pack small, into a paraglider harness
- Giant opening to be able to fit harness and wing in
- Helmet exterior mount option with netting or fabric?
- Stop sweat from my back while hiking from contacting the wing inside the backpack
Of course, what you want initially in any project and what you end up with are two different things. I started out by approaching world class gear designer Dave Schipper, co-founder of Slot-USA, a desert lifestyle gear company.
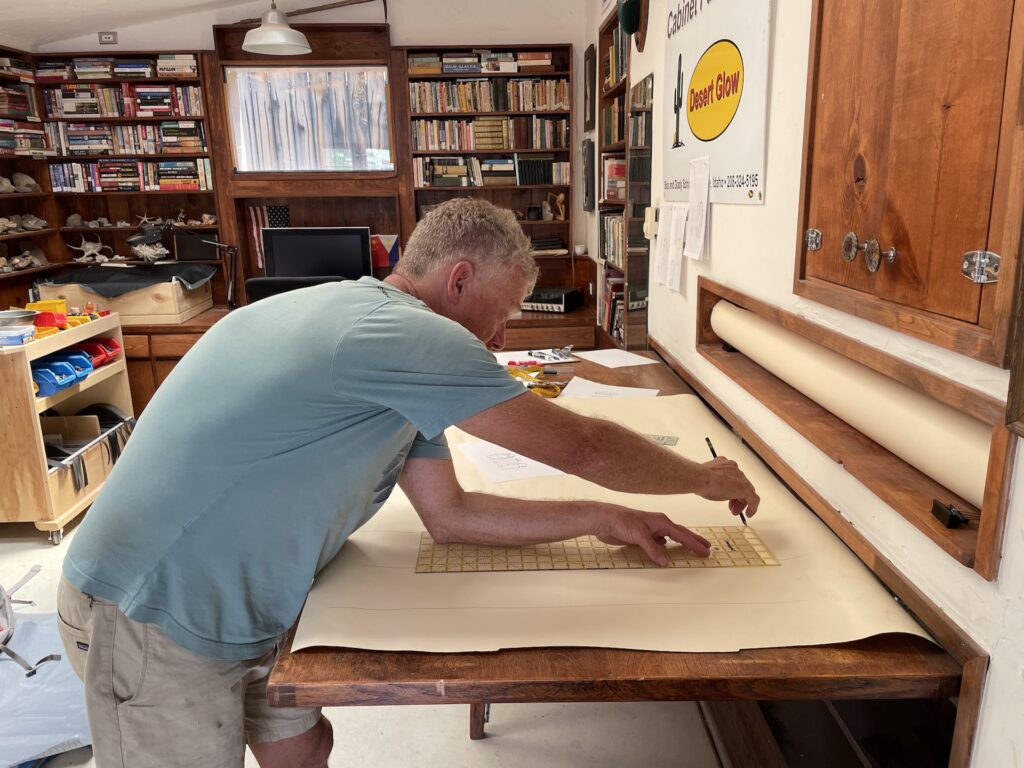
Dave has been in the game a long time and has seen the gear industry from pretty much every side imaginable. He’s been a pro athlete (cycling), a mountaineer on K2, been on the design side from concept to carry, has extensive (you might say exhaustive) experience on a sewing machine, has worked both overseas and domestically in manufacturing, and has more time above 10,000′ (more like 20,000′) than most paraglider pilots.
I was fortunate enough to meet Dave on a canyoneering trip north of Moab a few years back. He is the consummate outdoor professional, an impression that began from the time we shouldered our bags; he had made his own, specifically for canyoneering. At every belay he was ready; smooth and competent with the casual excellence of someone who has done the same task well thousands of times already.
We stayed in touch after that trip, and I would occasionally mention the dearth of good paraglider bags on the market. Busy with launching Slot (a desert lifestyle & gear company), he couldn’t spare time initially for my ultra-niche ask of a one-off paraglider backpack. Eventually he made a proposition: I come to his home base in Moab and we’d spend 3 or 4 days together in a sewing bee making up a custom pack. I booked my ticket.
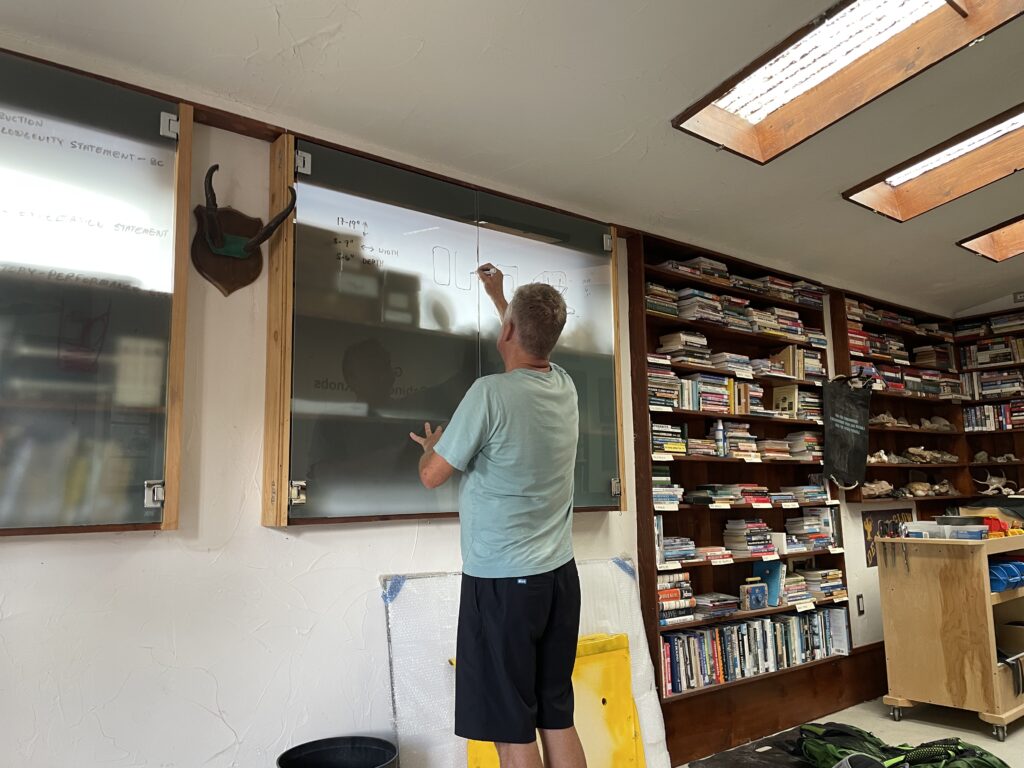
Of course, building a pack isn’t about just sewing, it’s all about decisions. Those decisions start NOT with how the pack should be made, but what you want the pack to DO. I made out my list and sent it to Dave. Then we started trimming it down.
Now, I’m not the world’s greatest paraglider pilot. I’m competent enough to fly on my own and enjoy it, and at this point in my flying progression I generally make safe decisions. That, by the way, was arrived at after not making safe decisions and going through 3 crashes in about 18 months, any of which could have killed or maimed me. I walked away from all of them by the grace of something greater than I and started making safer decisions.
Not being superb means it’s more likely I’m going to hike more than a better pilot. I like hiking, so I don’t consider it a penalty. Still, there’s no sense in wearing a hair shirt if you don’t have to, and carrying a sack with straps for a few miles in the summer heat is definitely “hair shirt territory”.
Let’s start with what I didn’t like about the packs I was seeing. They were too light, had no shape or frame, didn’t carry well, and were either big and floppy or so small that packing your paraglider in there was like stuffing a gorilla into a football. They let my sweat leak through to the wing, their zippers broke, the straps ripped out of the seams, and all the pockets but one tore within the first year of having ’em.
Ok, my first point was that they were all made of lightweight materials. That looks pretty in a grassy field.
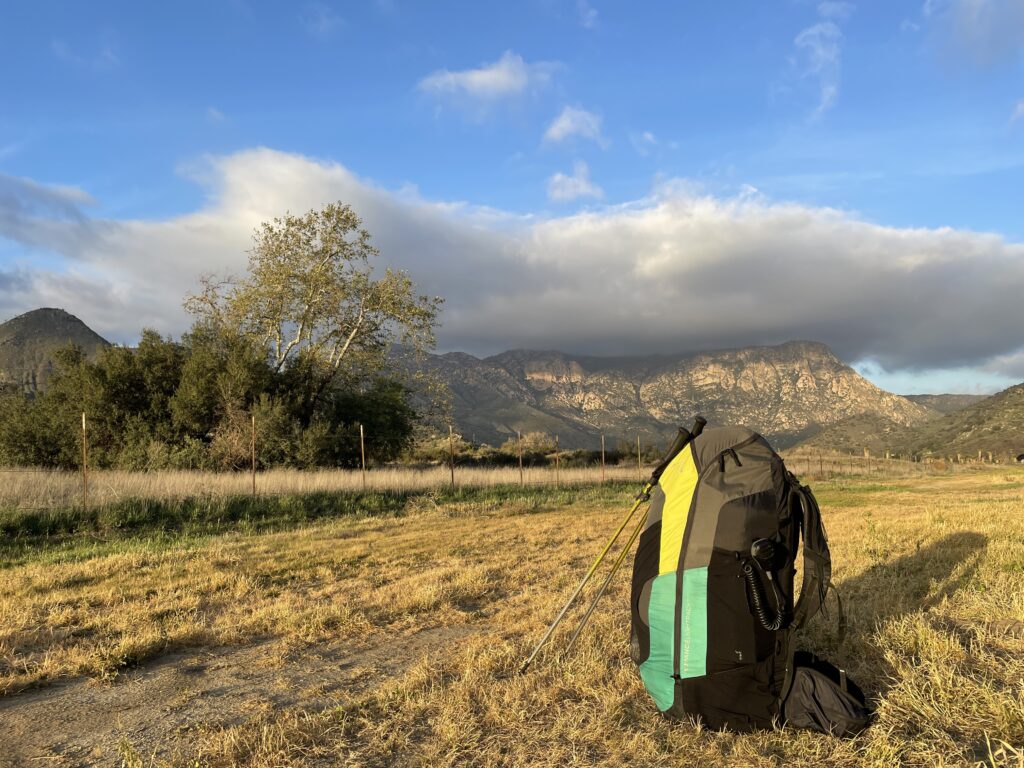
It also sounds cool if you’re thinking about getting into hike-and-fly, a sub-discipline of the sport where you’re expected to carry your pack a long ways (the hike part) before or after flying. Lightweight works well if you fly in areas where you have lots of grassy spots to land, or your “carry to launch” consists of moving your pack 100 meters from the back of your car to a launch site.
Lightweight is far less useful if you land off-piste and have to bash your way through manzanita and sage just to get to a dirt trail. I’ve done that, in some cases literally using my pack as a battering ram or dragging it behind me in a tunnel through brush. If you’ve never landed out in Southern California it’s hard to believe how long it can take to move 70 meters through head high coastal scrub to a trail. Two of those sessions will make a lightweight pack look like you filled it with tuna fish and threw it at a hungry grizzly.
Lightweight is also less useful if you’re not into shaving ounces. At 44 years old I ain’t the spring chicken I was, but I can still hump a 40 lb ruck 10 miles over rugged ground and not have to make any special preparations for the effort. An extra pound or two for me isn’t a big deal. This pack weighed in 2 lbs heavier than my old one. The Advance pictured above was 1.6 lbs, the new one is 3.6 lbs. I’m guessing most of that is the backpad assembly and the big beefy zipper. Winning.
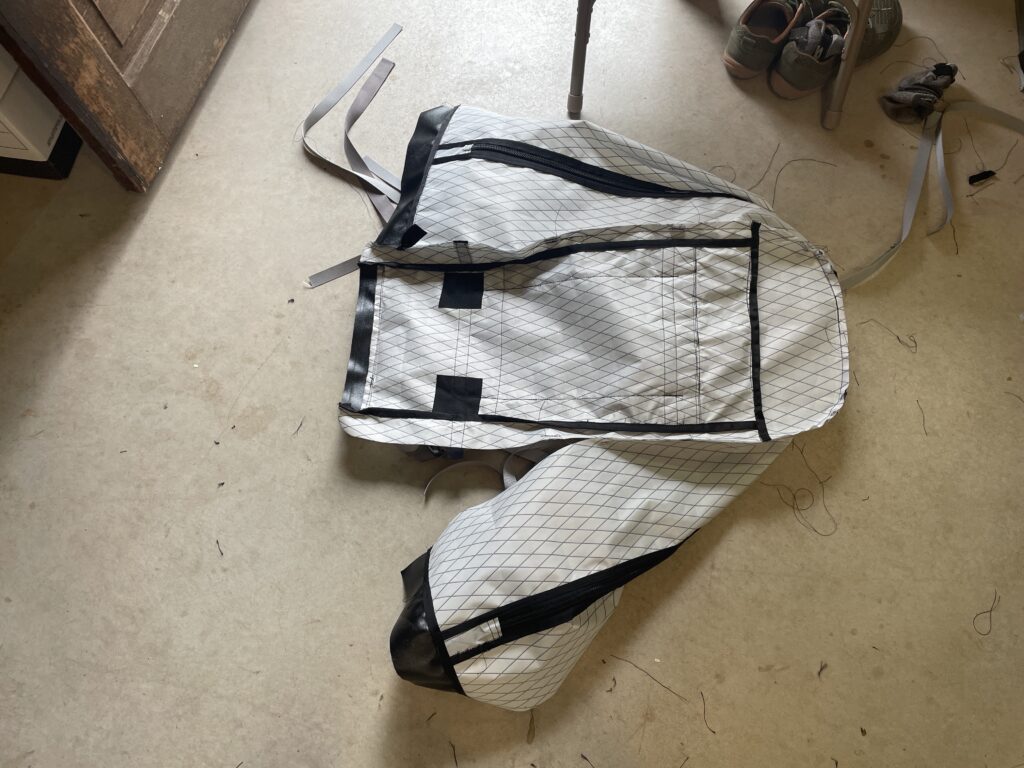
So, I wanted a pack I could drag through brush, throw in the back of a pick-up truck, chuck down on a dirt patch, withstand a light rain, and not need to baby. I wanted a tough pack. For the main fabric we chose something from Dimension Polyant, similar to X21 from X‑Pac. There are no labels in Dave’s fabric selection; he knows everything by heart. A tough fabric that is relatively lightweight and waterproof, this material was a superb choice.
Second, and more importantly, I wanted a pack that carried well. Tough fabric is an easy fix. A pack that carries weight well, distributing the load to where it’s best managed, was the prime goal. I wanted a pack I could carry all day, just like a regular hiking backpack.
A frame that is stiff enough to be useful and that connects the back with the hips (the vertical carrying load to the horizontal weight load) and that is small enough to stuff into the back of a paraglider harness; THAT is the money shot. That’s where we started.
Dave spent a few hours with me in the months leading up to our sewing bee. He asked questions about what I wanted and why I wanted it. He drew out quick sketches explaining why one or another thing might or not be a good idea. I had more ideas than experience, so it took a while for Dave to navigate through my eager ignorance and get down to what mattered.
We settled on the idea that we’d use a very narrow internal frame and a detachable belt that would still connect solidly to the pack. The core of the frame would be a single aluminum stay that slides into a durable cloth sleeve sewn onto a hard plastic rectangle with foam pads on the far side. Dave drew that out, then I started cutting and gluing foam & plastic.
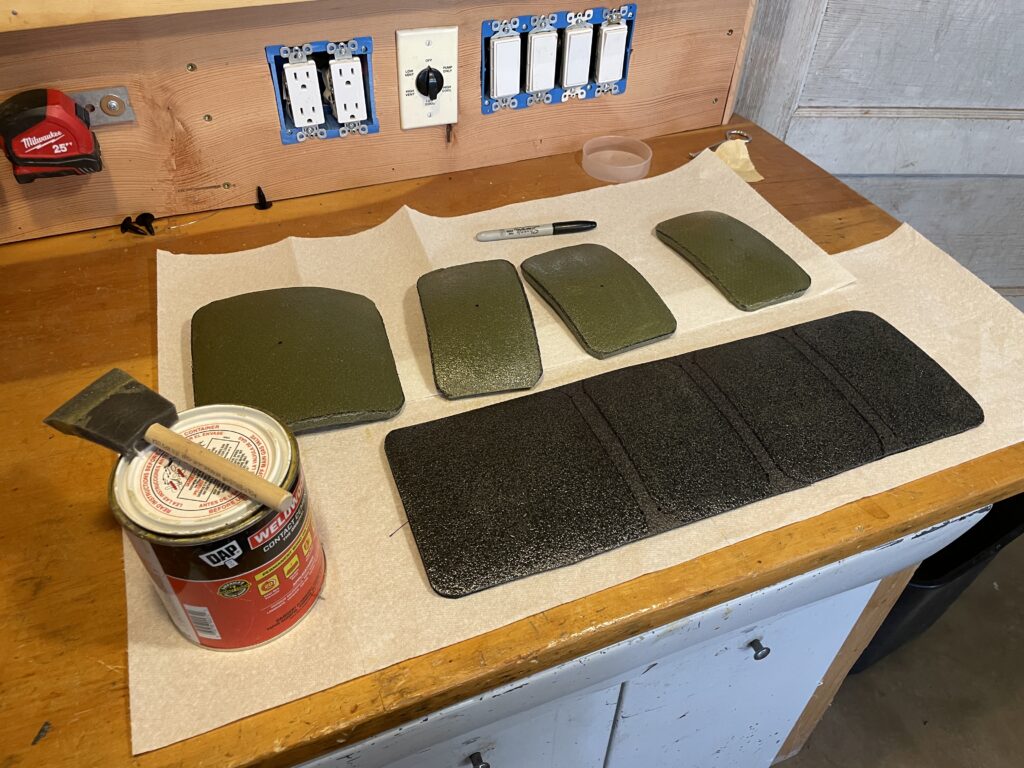
The pad would be thin enough to allow the whole pack to fold up and slide into the back of my paraglider’s harness compartment. The pad was flanked by two more foam + hard plastic shapes that gave the back shape, but folded on a “cloth hinge” to allow for compactness.
We layered mesh over the foam side (against my back) to improve breathability, and then changed the way I packed my harness and wing so the wing was on the outside of the backpack, opposite to my back. No chance of sweat wicking through and getting on the wing, which had happened before.
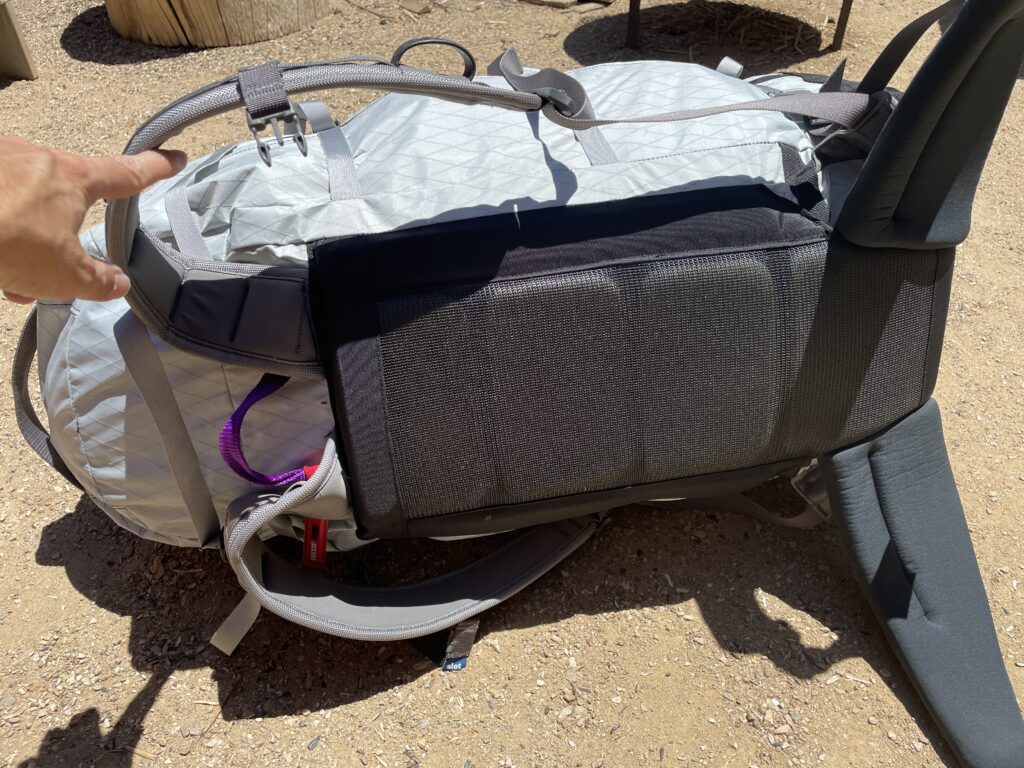
Now, to the crux of a stiff frame: How does it connect to the hips? As all serious backpackers know, putting the load mostly on your hips and not on your shoulders is the best way to comfortably carry a load a long distance. When the load gets to the hips, that belt has to be stiff enough to carry it and not just sag under pressure. This means the hip belt should have a solid connection when forming the bottom of an upside down “T” with the back pad.
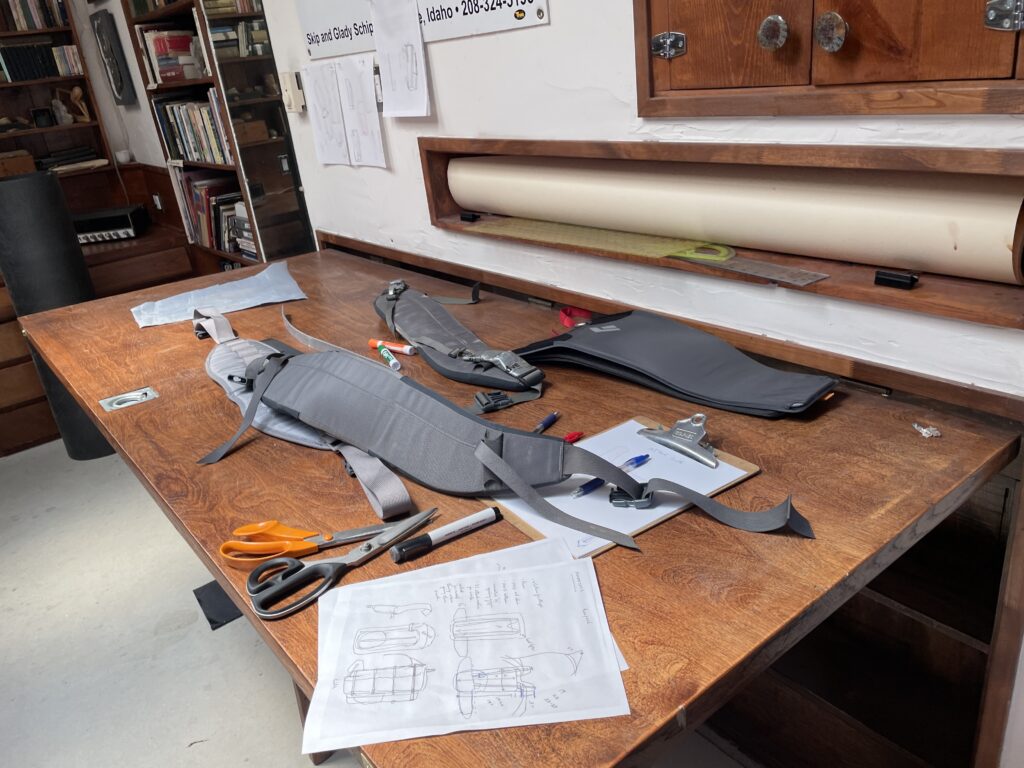
An upside down “T” is difficult to slide into the small compartment on the back of a paraglider harness, so Dave decided to use a removable hip belt that was stiff, and sew a “tunnel” under the back pad on the pack such that when the hip belt slid into the tunnel, it created structural contact with the back pad. We laid out a bunch of hip belt options, then picked the best one.
Since I wanted a pack big enough to easily slide my wing & harness into but that also compacted, I compromised on the “external smoothness” and we added 3 compression straps on each side. These straps aren’t for tow-truck style pressure, but rather to snug up the load as close as possible to the back and keep the whole package tight and acting as one carrying unit.
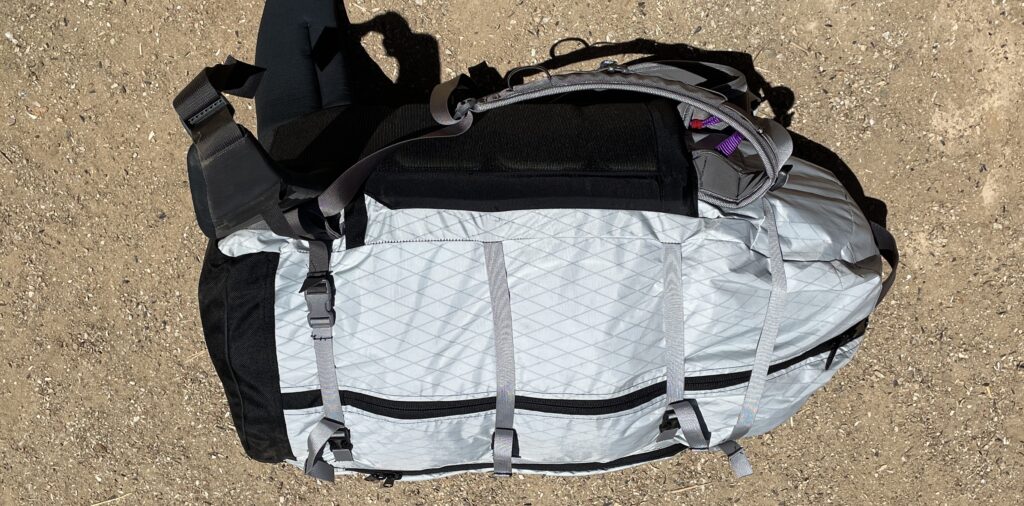
Dave added in two key pieces I would have completely overlooked; load lifters that snugged the top of the pack into the body more, and hip stabilizer straps that connected the bottom of the pack more securely to the hip belt. Those are my understandings, not Dave’s explanation. 🙂
We also tested out isolation straps on the top of the pack. These were meant to stop the helmet from swaying around a bunch. As it turned out, we’d made the compartment small enough that they weren’t needed. I may cut them off, though I’ll test ’em out on a few more hikes before I do.
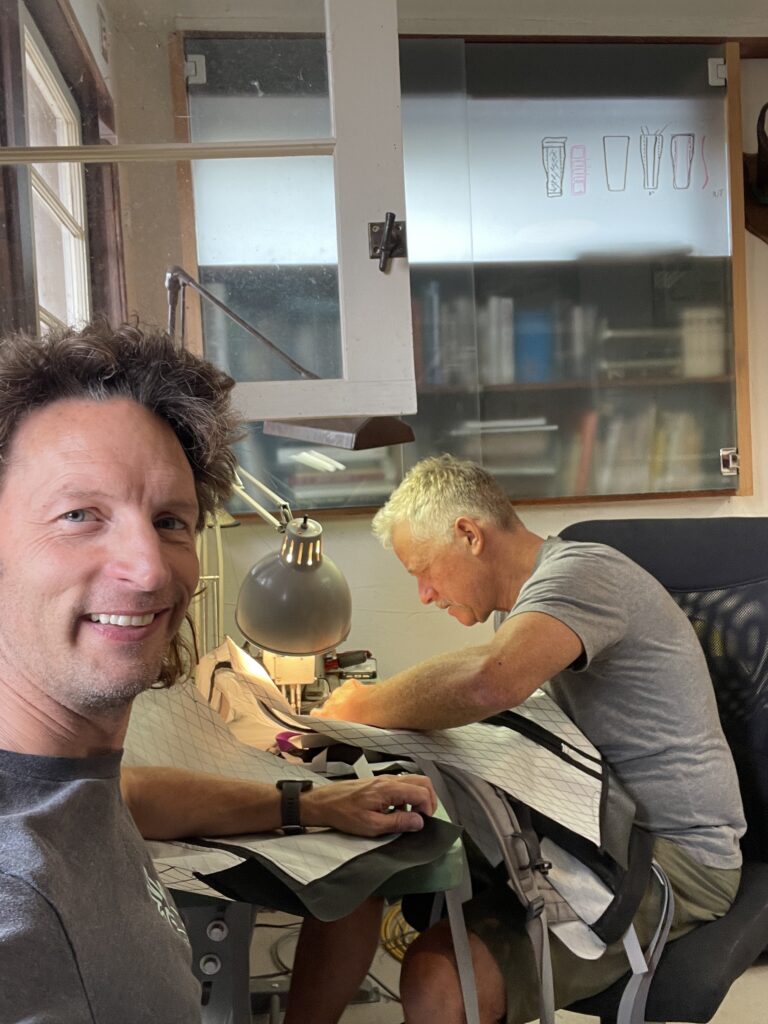
All of this involved an incredible amount of sewing and thinking on Dave’s part, and it was awesome to watch a master at his craft. I mostly sat at the table and lent an extra hand where I could, but the lion’s share of the work was his to execute. For those of you who haven’t seen a prototype pack like this before, this is about as clean and beautiful as they come. Sure, there are a few small blemishes in there, but damn is this close to the kind of perfection we all strive for!
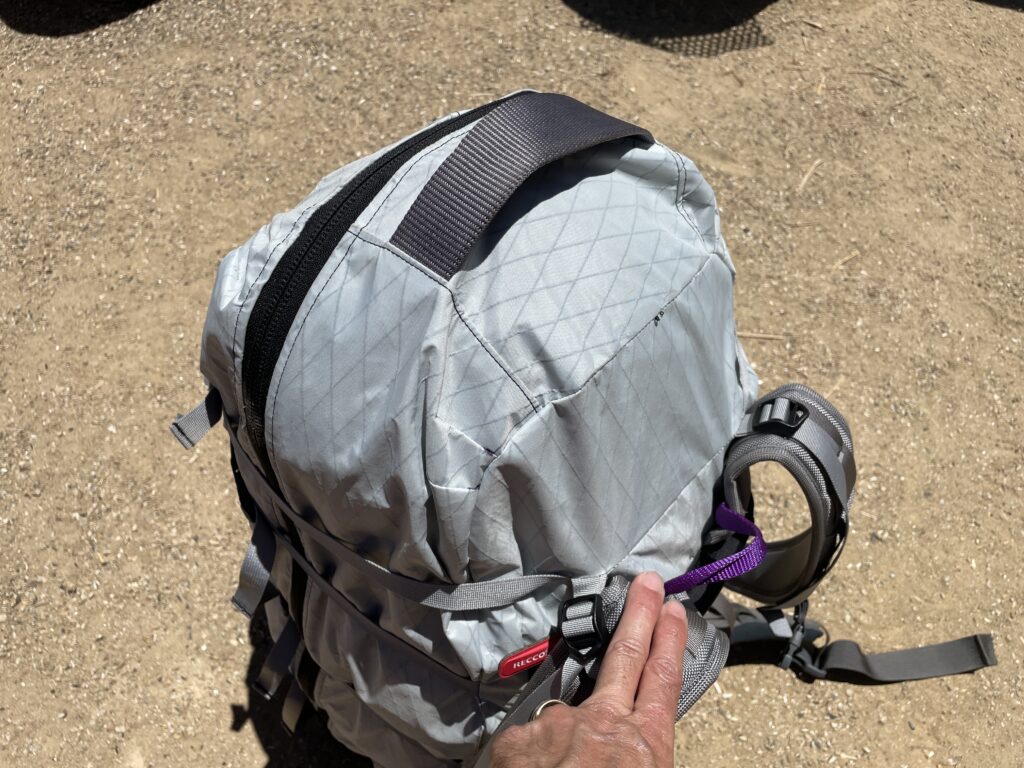
Dave also included small details, like two different straps for lifting the bag. One, the thick grey one on top, is for yanking the thing off the ground and throwing it into the truck that drives you up to launch (I don’t always hike up). The other, a thinner purple strap, is for when you want to lift the bag up on your shoulders. The different heights of those may seem inconsequential, but having the option is one of those “A pro knows” moments.
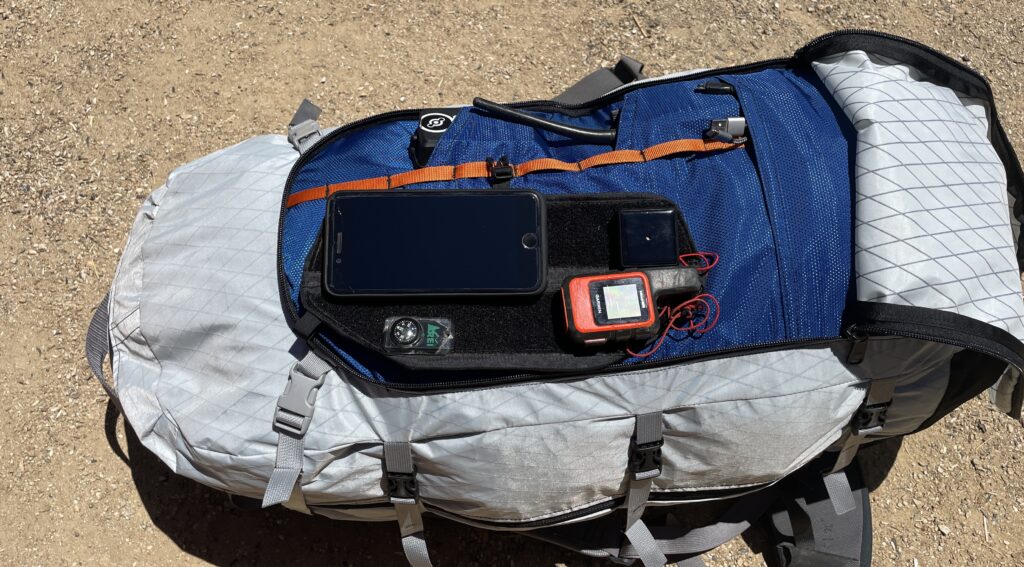
When it came to pockets Dave likes to keep things smooth, without a ton of different options slapped randomly around the pack. I like pockets everywhere, but I also trust that Dave probably has more pack knowledge in his little finger than I do in my entire meatsack. We settled on a wide shallow pocket stitched onto the front of the pack that, when unzipped, acted as a “workstation” for all my gear. Flight deck, radio, tracker, and miscellaneous stuff slides in there. While we probably made the pockets a *little* on the tight side, I love the workstation concept, and I’m shifting to the “less pockets” camp.
For carrying water I can throw a bladder inside and refill to an external hip-belt bottle pocket. Dave compromised his “no pockets” aesthetic so I could have my hip belt water bottle. I’m not a fan of bladder & hose, even though it’s clearly a more efficient option.
We ended up running out of time to finish the pack to Dave’s standards. He’d like to see a nicer shape on top for the helmet along with a few other things. We scavenged the hip belt & shoulder straps from a Slot pack. We also missed a few things we meant to get to, like a bladder pass-through in the top of the pack if I decide to go that route, and molle straps on the hip belt so I can attach that external water bottle holder.
Still, I left Moab with a paragliding backpack that is better by far than anything I’ve seen on the market for the kind of paragliding I love the best; a little known, a little unknown, and just as much hiking as flying.
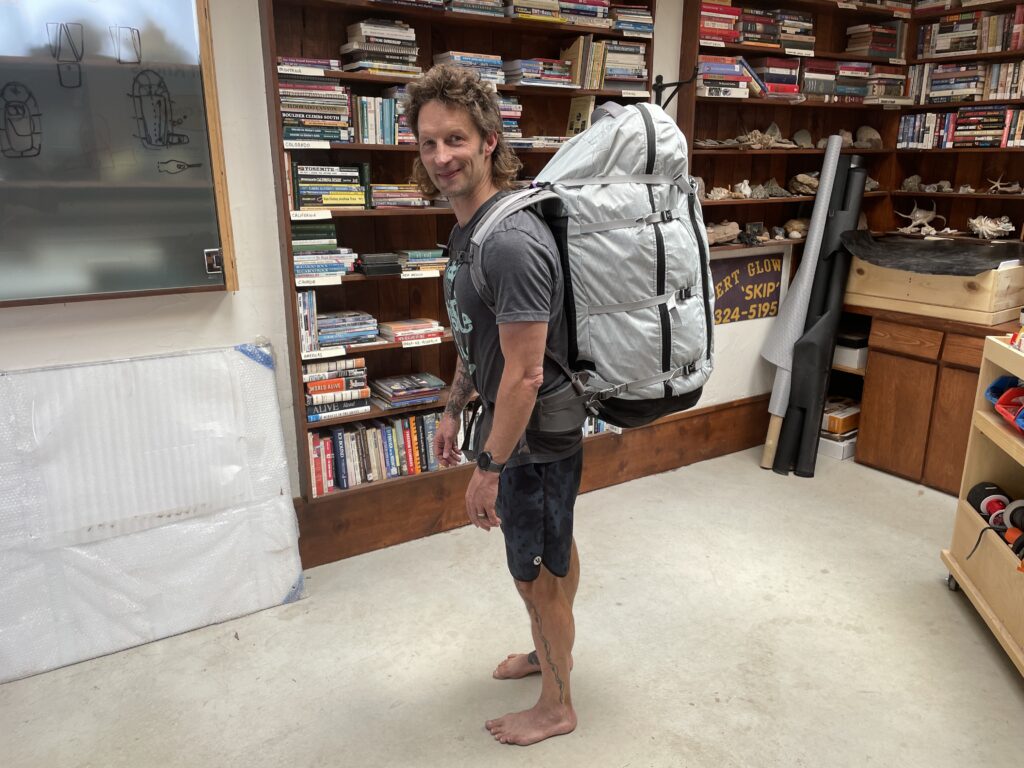
Here’s to hoping you got some inspiration out of this for making your own pack. If you’re an industry pro looking to work with one of the best in the biz and learn from my mistakes, reach out to Dave at Slot.
Here’s a quick vid of flying, packing up, and hiking out.
Rock on!